Life Casting - Taking a head cast using Alginate
Step 1 Preparation
The subject needs to wear a silicon or latex bald cap, a swimming hat, or in this case we've just used shrink wrap to cover the hair. Once the hair is covered apply Vaseline to the eyebrows and any other hairs that need to be covered Alginate will usually come away easily from the odd hair, but clumps of hair will cause the alginate to stick, and it'll pull lumps from the mould. Also plug the ears with cotton wool or earplugs.

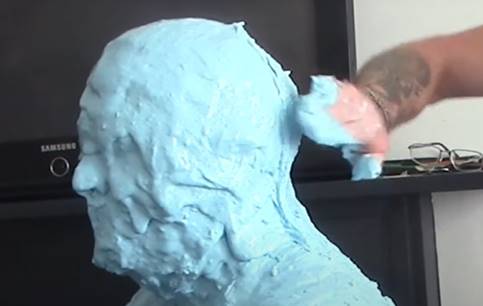
Step 2 mix and apply Alginate.
Start by mixing the alginate at approximately one part powder to three to four parts water, mix with a paddle mixer on a drill to help reduce any lumps, apply from the back of the head making sure you get the alginate behind the ears and into any crevices, if you don't fill these voids they'll become air pockets and that will cause lumps on your final cast.

Most air pockets tend to happen around the ears, eyes, around the nose and wear the jaw and neck meet, so be sure to take extra time in those areas working out the air pockets. nostrils can have straws inserted to allow the subject to breathe although more experienced moulders may just be extra careful to avoid the alginate being placed over or near the nostrils, they would usually have a third person continuously keeping the nostrils clear as the moulder applies the alginate.
Also, it’s a good idea to work out a few hand signals with the subject so they can communicate any discomfort as they will not be able to speak once the alginate is over their mouth. For example, keep asking them if they are ok… thumbs up (ok) thumbs down (not ok) or worse case two thumbs down (pull off the alginate etc) as some subject may get claustrophobic and decide they don’t want to continue. You could also give them a note pad and pen.
The materials can get heavy so make sure the subject is seated and has plenty of back support.
Step 3 Applying the first layer of plaster and bandage.
Once the alginate has cured the plaster bandage can be applied to create a supporting shell for the alginate mould. Again, as with applying the alginate, work from the back first. Using folded or wrapped plaster bandage, create a wall running along the top of the shoulders over the head and at the back of the ears, this will create a high partition wall then apply more bandages all over the back of the head.
mix up some fine casting plaster with water to form a paste and use this to make a good square wall and smooth off the plaster shell. Leave this to cure hard before applying the plaster and bandage to the front.
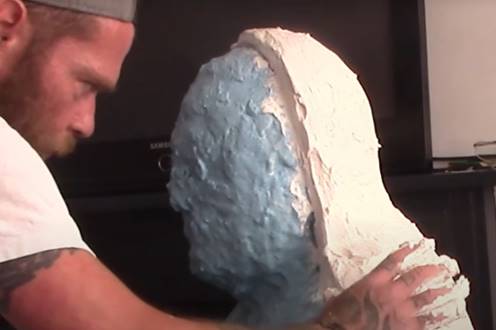
Step 4 applying the second half plaster and bandage.
It's highly important that you don't forget to apply a good smear of Vaseline along the partition wall of the plaster shell, and this is to ensure a good release of the two shell halves repeat as previously with the bandage and plaster again making sure the nostrils are clear at all times.
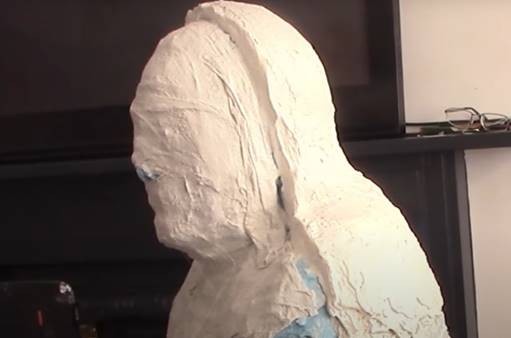
Step 5 Removing the mould.
Remove the mould from the subject once it has hardened, it is usually cured after around 30 minutes, depending on the working temperature. It is a good idea to remove the back of the Shell First making sure that the front shell stays in place.
Then carefully cut a ‘Y’ shape in the alginate at the back of the head, don’t use anything sharp or with a point to cut, the alginate will easily cut with children's safety scissors, butter knife etc. The ‘Y’ shaped cut should be big enough to allow the subject's head to fit through.
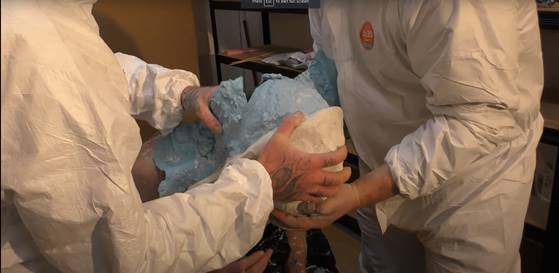
Lower the subject to the floor and have them kneel forward holding the front shell in place so it doesn't fall to the floor. Carefully get the subject to remove their head whilst moving the muscles in their face to help with the release from the alginate.
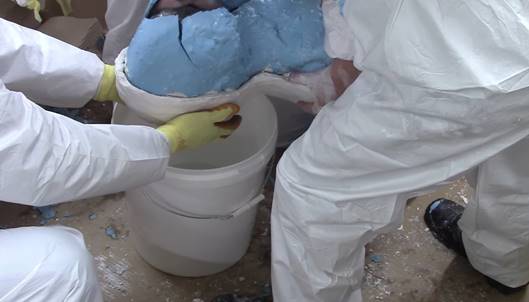
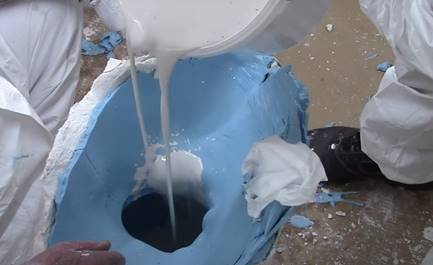
Step 6 Preparing and filling the mould with plaster.
once they're out of the mould carefully replace the back shell and secure the two halves by wrapping the outer shell with duct tape. Pop the mould into a bucket for support ensure all the seam lines where you cut the ‘Y’ are joined together perfectly and level. Also make sure that you plug the nostril holes from the outside with plasticine or clay otherwise your
plaster cast mixture will spill out of these holes.
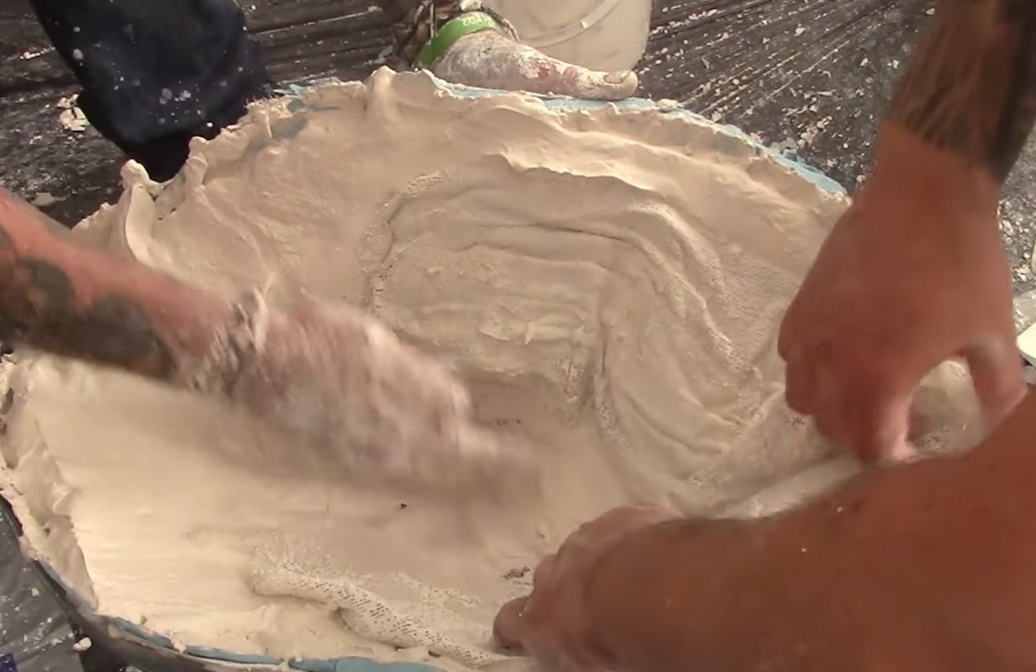
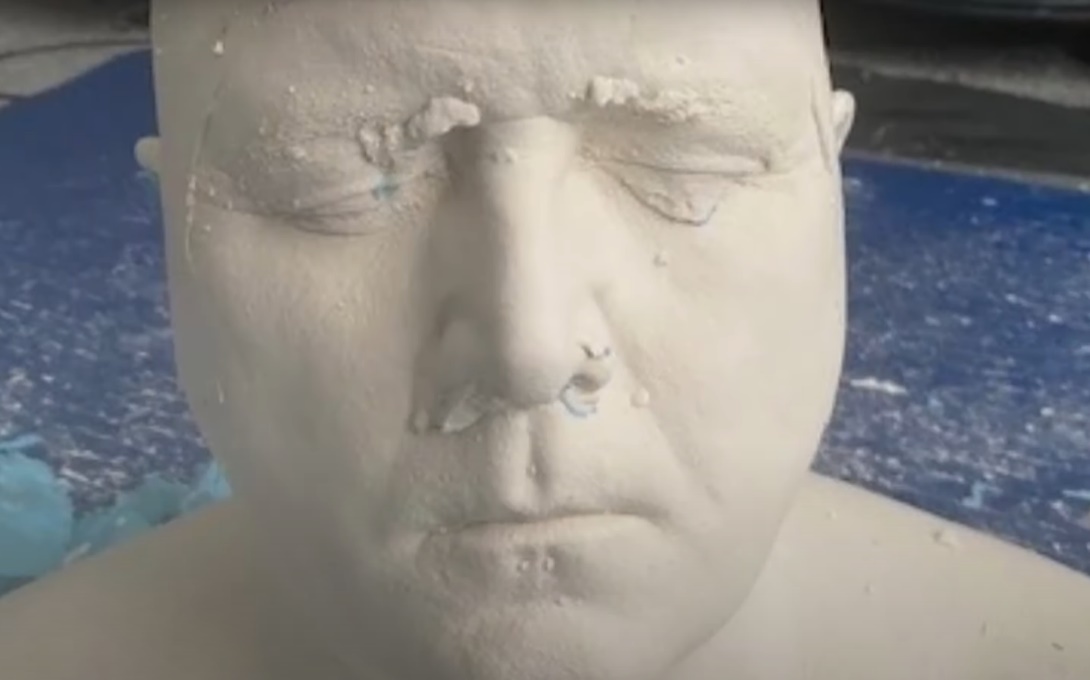
once the mould is ready mix up a batch of fine casting plaster and water and pour into your mould. Swirl the plaster around and work it in place to ensure there's no trapped air pockets in the plaster. If you use your hands to work the plaster into the nose, eyes, and ear areas, always be aware that plaster can get hot when curing, so never leave your hands in plaster whilst it is curing.
you can reinforce the shoulder areas with bandage also.
Step 7 de-moulding the cast.
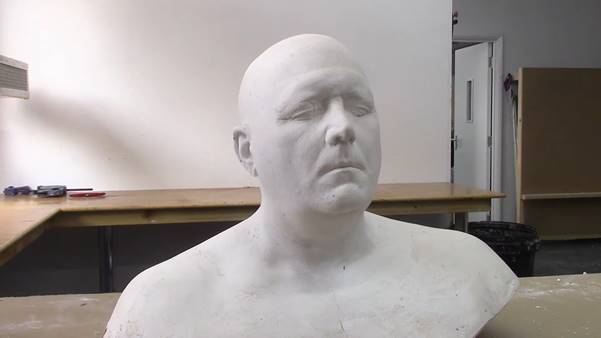
Leave the cast to cure, for best results leave it overnight, taking it out too early could result in parts snapping off due to the plaster being too soft when removing the alginate. be careful around the ears as these will be the weakest areas.
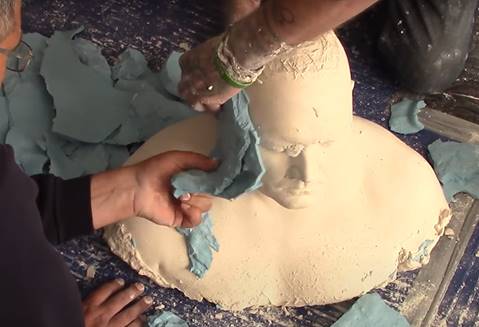
You might find that no matter how careful you've been to remove trapped air during the plaster pouring process that the cast still has unwanted lumps Etc. most of these can usually be picked off or in worst cases can be filed off and the area can carved be sculpted. Missing pieces may be able to be glued back on or re-sculpted with a 2-part epoxy putty such as milliput or with a waxed based clay depending on the cast’s use afterwards.
We also have this guide as a video tutorial on our YouTube channel https://www.youtube.com/watch?v=Tdw1qeSVQag
In another guide we show making a silicone mould from the above plaster head and we reproduce the head from our silicone mould in fiberglass https://www.ecfibreglasssupplies.co.uk/fibreglass-bust-from-silicone-mould-of-plaster-lifecast this is also available as a video tutorial https://www.youtube.com/watch?v=ZRZzWQ8yxk8
This advice and information are given in good faith for guidance only. and is given without warranty, users should determine information given and using their own judgment to determine suitability.
To reassure our customers - all materials supplied by East Coast Fibreglass Supplies are of the finest quality, manufactured by companies such as Scott Bader, DSM, Owens Corning to name but a few, who all have supplied materials into the Composites industry for many years on a global scale. Samples from every batch manufactured are retained for testing, should the need arise.