Melamine mould
Using Melamine faced boards as a simple mould
For fibreglass moulding projects you will, in most cases, need to have a fibreglass mould. However, if the project is of a simple shape made of mainly flat surfaces such as a box, hatch lid and even projects as large as a boat wheelhouse, it is possible to manufacture these without a fibreglass mould. Fibreglass will de-mould easily from a melamine surface, so it is ideal for constructing simple moulds. This is an excellent way also to make a one-off use mould without the expense of making a master/plug and then a fibreglass mould. We have linked the products used throughout the following step by step process.
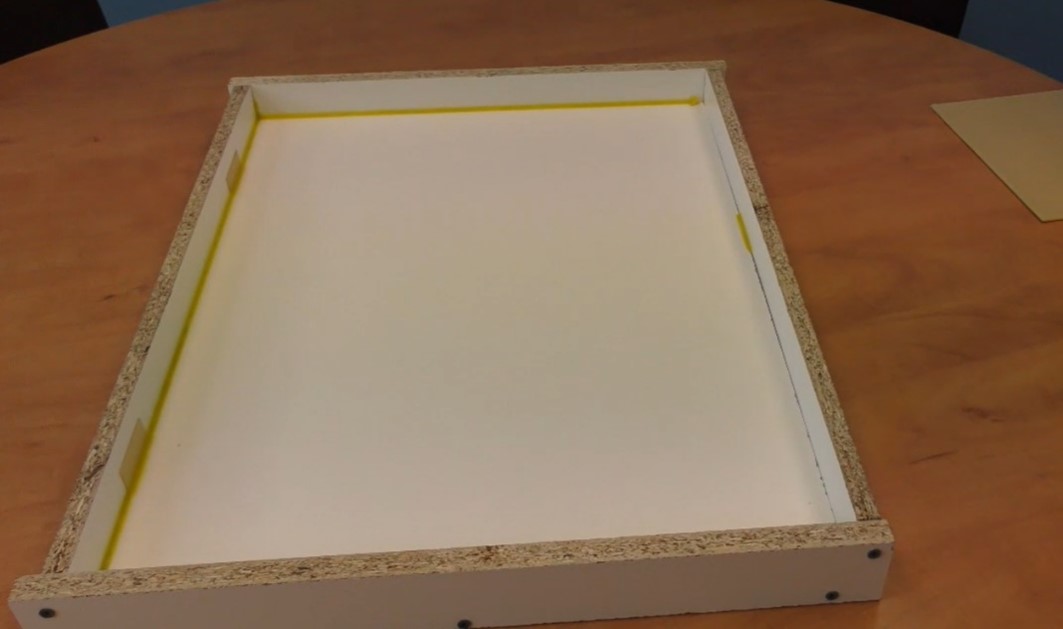
Step 1. Construct your melamine mould. The inside dimensions of shape, in this case a simple box, should match the outside dimensions of the item you wish to make.
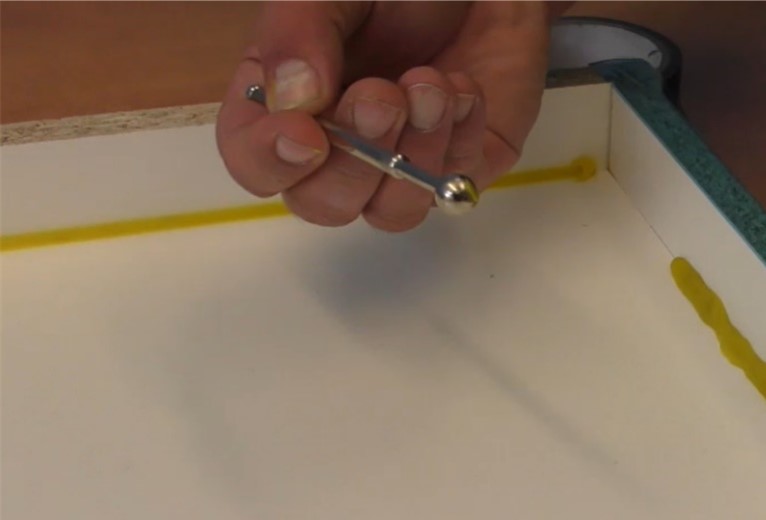
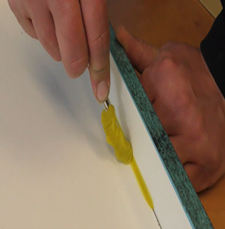
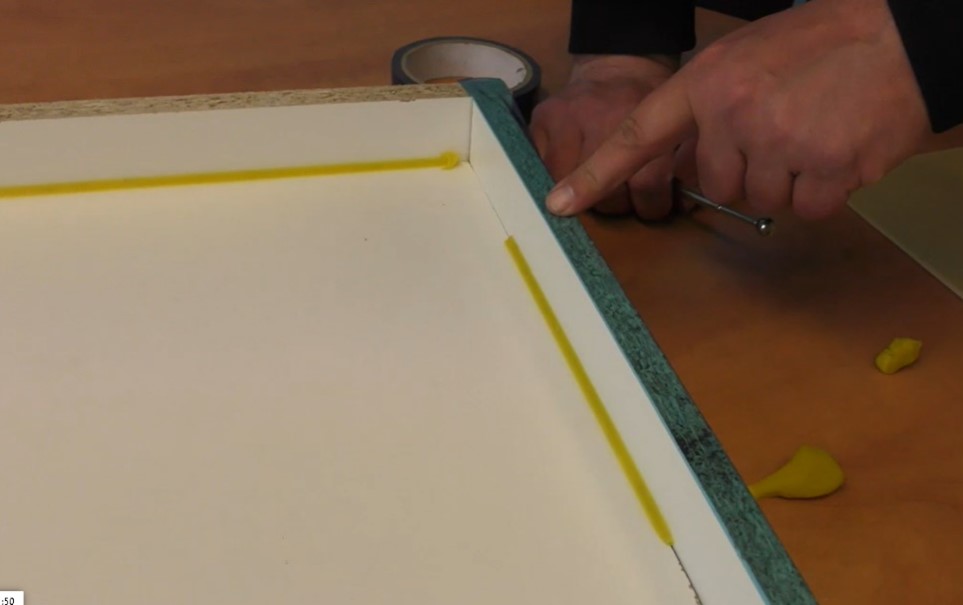
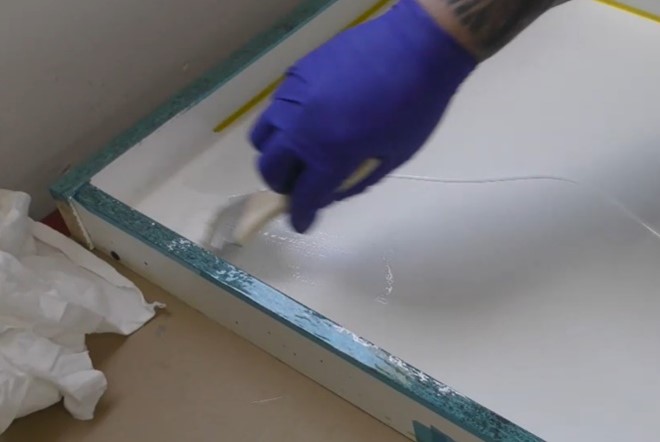
Step 2. Fillet the corners with plasticene or filleting wax. Here we are using Nakiplast filleting wax and rubbing it in place with a fillet ball to create a nice smooth radius to the corner.
Tip:- Flash tape can be used to seal cut edge of the boards. this will prevent resin from soaking in and damaging the mould should you wish to use the mould again. Cellotape can be used but this tends to crinkle and lift under the resin as styrene solvents in the resins and gelcoats attack the glue.
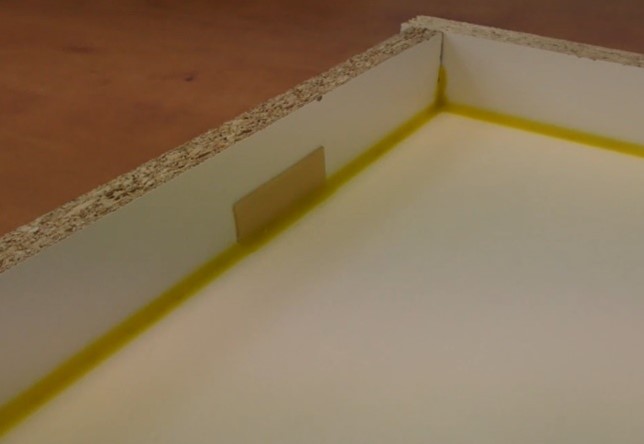
Step 3. Wax sheet can be used to create small recesses. For example here we cut and applied 2mm wax to mould the recesses needed to fit the hinges later

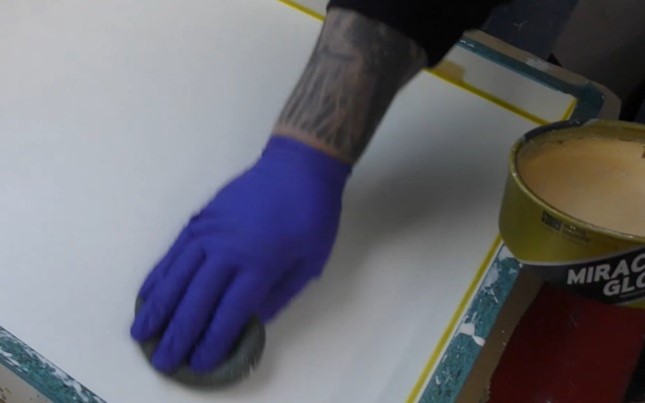
Step 4. Apply a light coat of mould release wax. Then buff off with a cotton cloth. This can be any wax from our meguires or TR range.
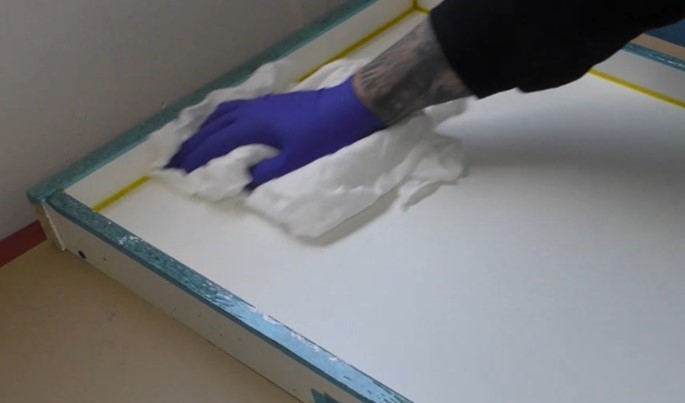
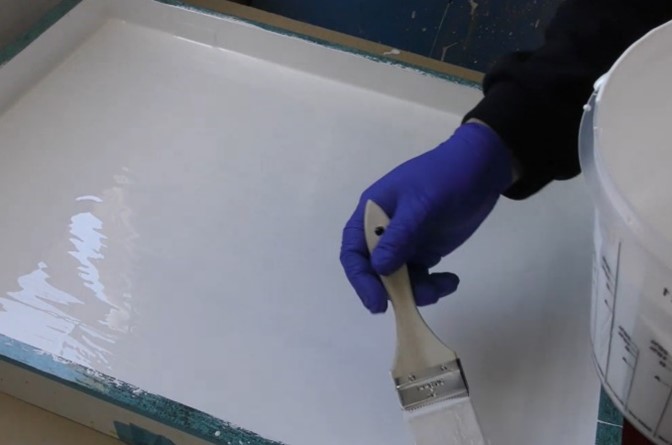
Step 5. Catalyse and apply a layer of gelcoat. we have a huge selection of coloured gelcoats available below if applying white gelcoat onto white melamine make sure you have not missed any areas.
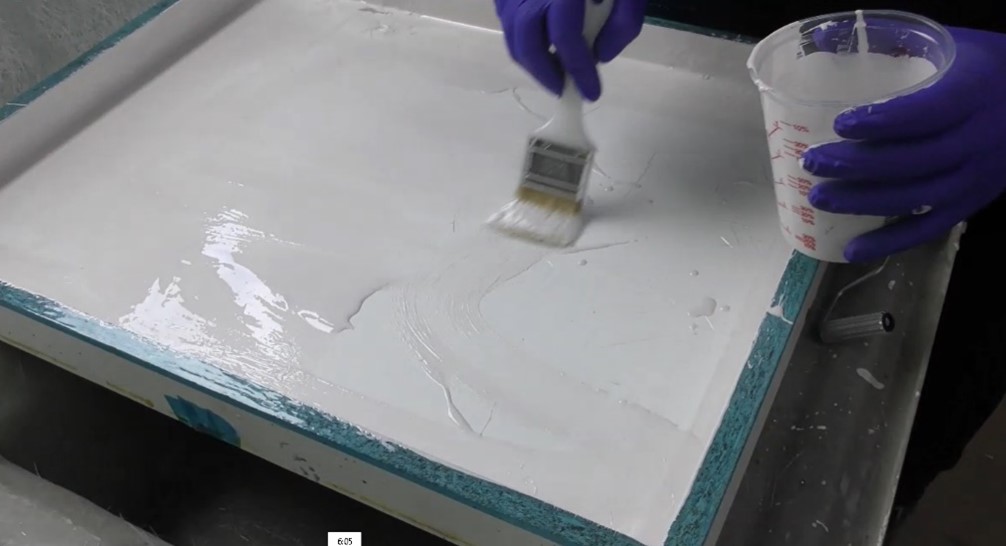
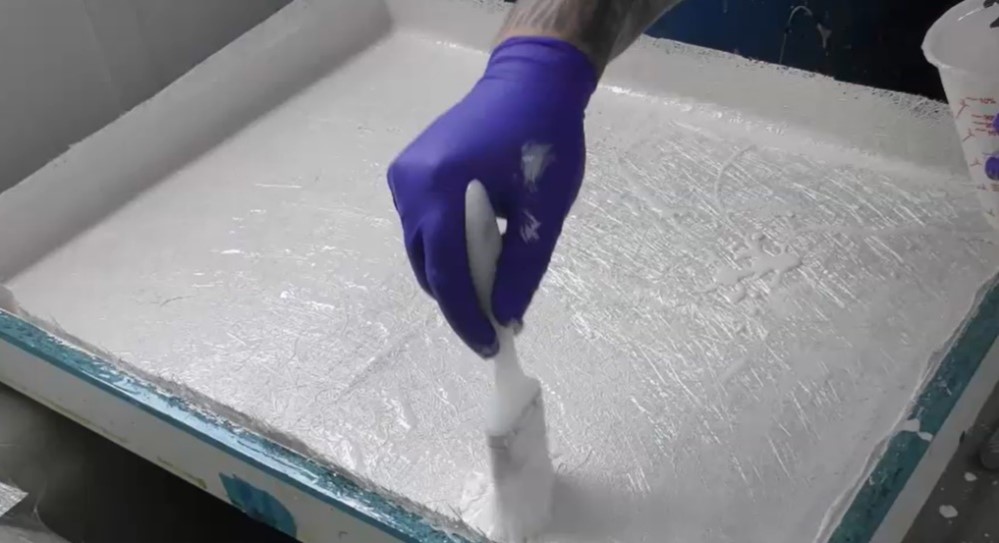
Step 6. Check that the gelcoat has cured. check corners as some deep or cornered sections can take longer to cure. The gelcoat should be tacky without any colour coming off onto your fingers. Then catalyse and apply a layer of polyester resin. we recommend general purpose for most applications or Lloyds approved if this is for a boat.
Then lay down your matting. corners may need tearing to tailor the matting into position.
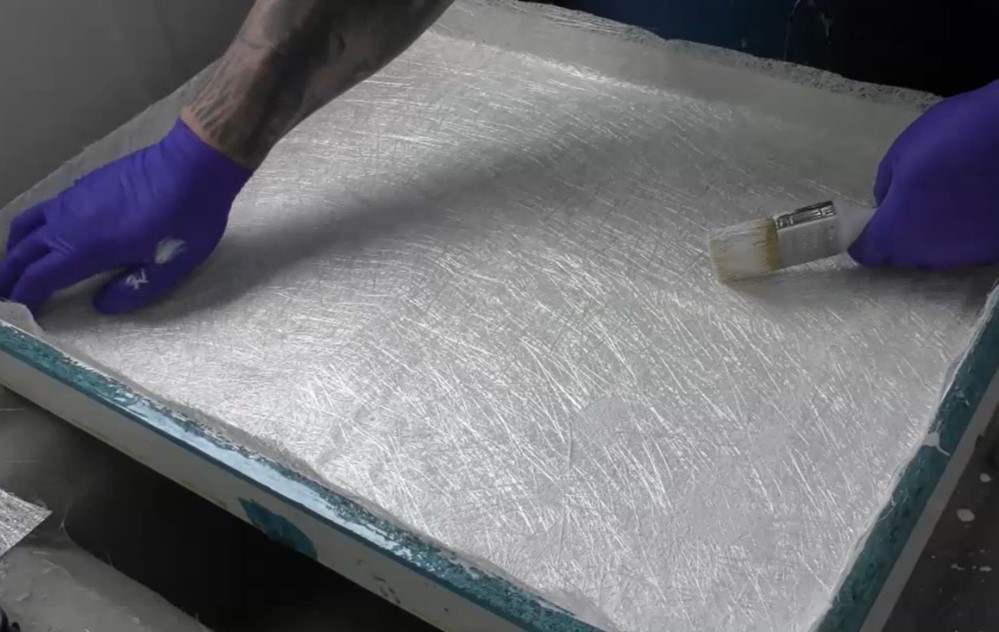
Apply more resin to the matting.
Use a paddle roller to flatten out the matting and work out any air bubbles
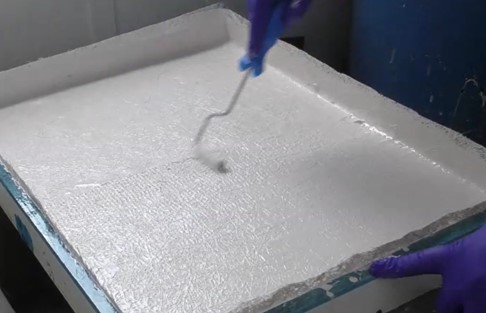
Use a radius corner roller to expel any air from the corners
It is a good idea to let the first layer cure completely before applying further layers. This will ensure you have good consolidation of the first layer, and it won’t be disturbed by by the rest of the process.
Step 7. During the application of other layers, reinforcement materials can be applied around the outside edge or anywhere you think bolts and other fittings may be placed.

For this project we also sandwiched some 5mm Nidaplast between the layers to give the part some extra stiffness. Nidaplast also helps reduce weight and distortion without having to add too many layers of matting to achieve the same level of rigidity and stability to a large flat area. For big areas such as constructing a boat wheelhouse we would recommend maybe 10 -15mm depending on the rest of the fibreglass specification and for boat decks usually around 20-25mm
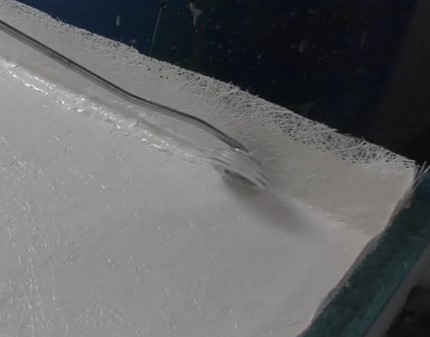
Finally another layer of matting is applied and consolidated and the part is left overnight to cure.
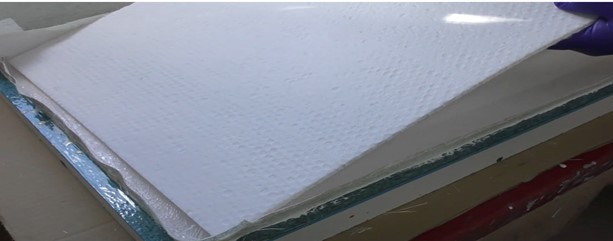
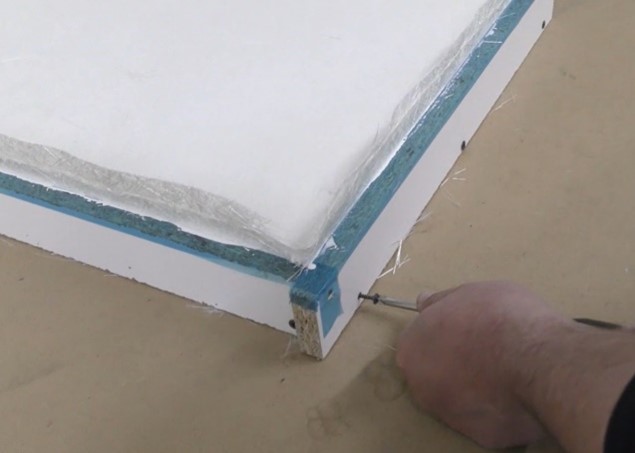
Step 8. Remove the screws and using a wedge and rubber mallet, gently de-mould the part.
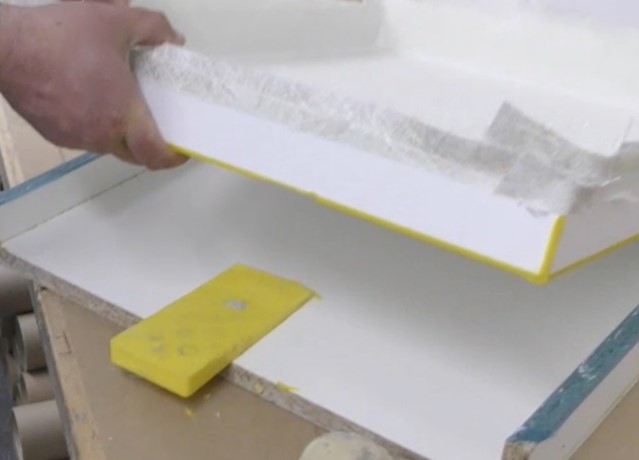
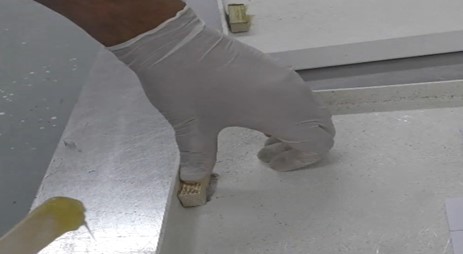
Step 9. Remove all the excess fillet wax and use acetone to remove any residues.

Tip: Pieces of timber can be bonded in with epoxy or bonding paste if screws are to be fitted however in most cases it is better to have fibreglass parts bolted where possible especially on parts made for boats as timber will likely rot in time.
The final part can also be cut back and polished especially if there are any imperfections. Use wet and dry upto a 1200 grit and finish with a Farecla or Roar cutting pastes.
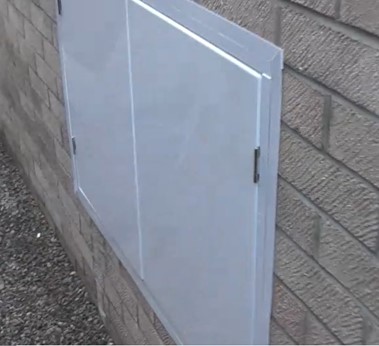
Once complete the part can be installed :